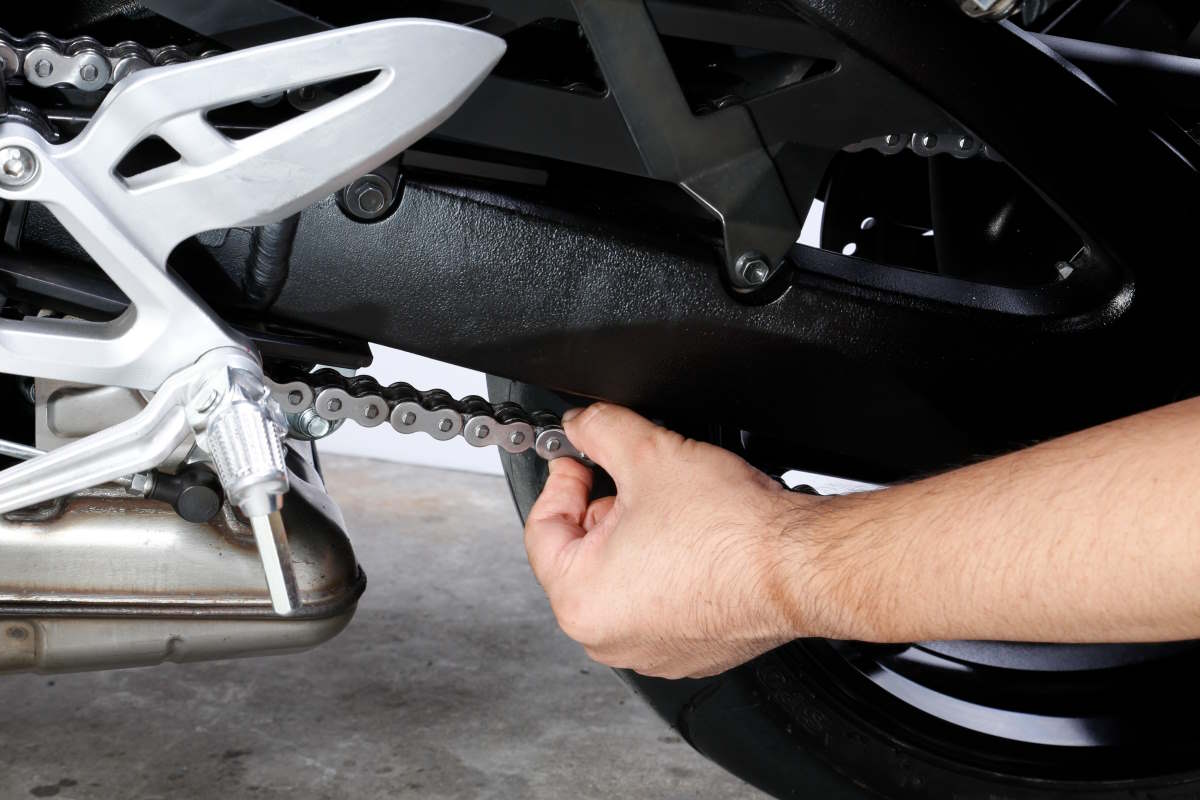
The drive chain should neither be too deflected nor too taut, and it is important to maintain proper deflection at all times. Pulling the rear axle backward itself is common regardless of the model, but the specific process may differ depending on the chain adjuster mechanism and construction. If the rear brake is a drum type, care must also be taken in handling the torque rod.
- Check the instruction manual or caution label for the amount of chain deflection that varies from model to model.
- Adjusting nut/bolt may rotate in different directions depending on whether the chain adjuster is pulled or pushed
Check the instruction manual or caution label for the amount of chain deflection that varies from model to model.
The proper amount of chain deflection is set by the manufacturer based on the suspension stroke and wheel travel. At the same time, the measurement position and conditions (main or side stand, etc.) are also indicated, so check the instruction manual before measuring. It is recommended to measure not only at one location but also at multiple locations because uneven wear of the pins and bushings may result in uneven elongation due to the torque generated during acceleration and deceleration.
The amount of deflection in the drive chain increases as the driving distance increases. This is because repeated acceleration and deceleration rub and wear the pins connecting the chain bushings and links, gradually widening the distance between the pins or pitch. The sprockets that mesh with the chain also continue to come into contact with the rollers of the chain, which widens the pitch, causing the valleys of the chain to be worn away. Both the drive chain with widened pitch and the sprockets with worn valleys are caused by the wear of the metal, so they will never return to normal. However, if the deflection situation is left unchecked, the chain, which has become lazy, will ripple during acceleration and deceleration, and the torque during acceleration and deceleration will be transmitted like a whip, causing further friction, so it is necessary to make appropriate adjustments when the deflection exceeds the amount specified by the bike. The reason we say “specified by the bike” is that chain deflection varies widely from model to model. Some off-road models with more wheel travel may require 50-60 mm (in the case of the Yamaha YZ250F), while on-road models may require 5-15 mm (in the case of the Yamaha MT-09). Since both suspension stroke and the amount of wheel travel differ greatly between on-road and off-road models, it is anyone’s guess that the appropriate amount of drive chain deflection will vary. However, specific values are set by the bike manufacturer at the time of development, so it is important to check the owner’s manual or the vehicle’s caution label.
Adjusting nut/bolt may rotate in different directions depending on whether the chain adjuster is pulled or pushed
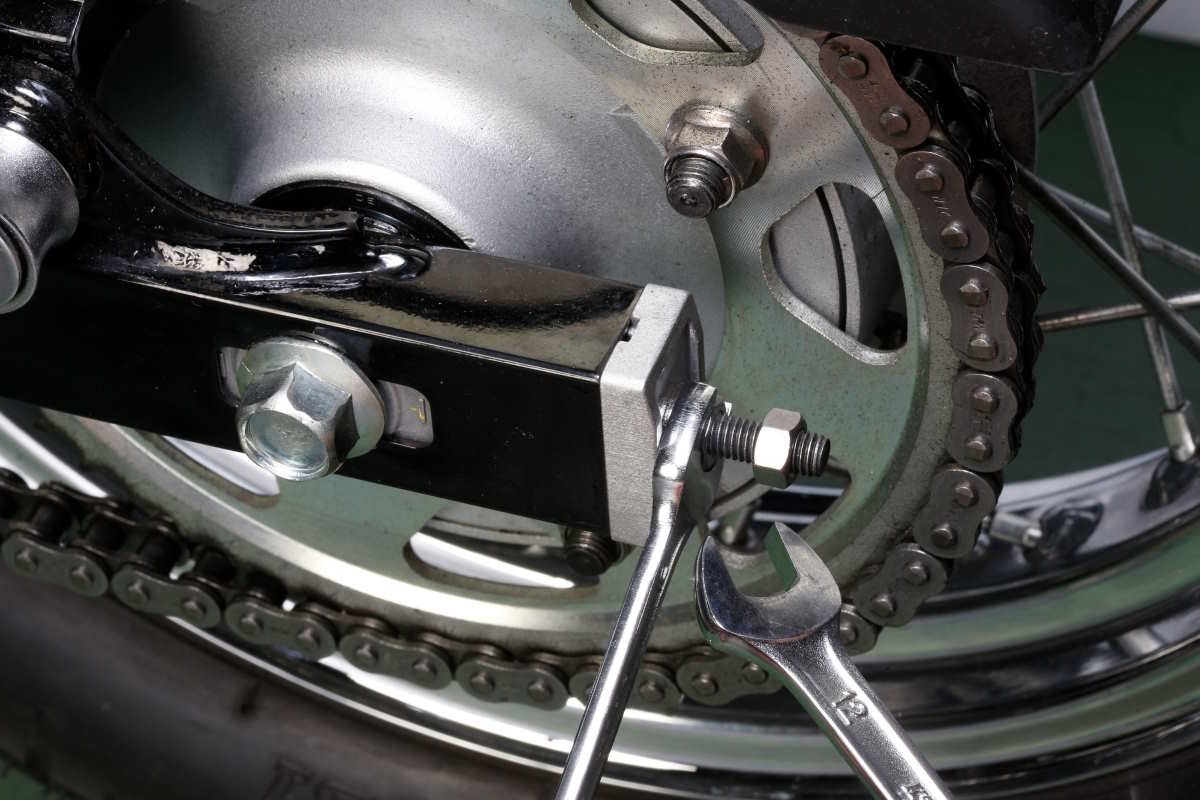
This type of chain adjuster is pulled from the rear of the swing arm. In the case of the double nut type, in which two nuts overlap each other to prevent loosening, loosen the upper nut first and then turn the lower nut. The rear axle shaft nut must be loosened first.
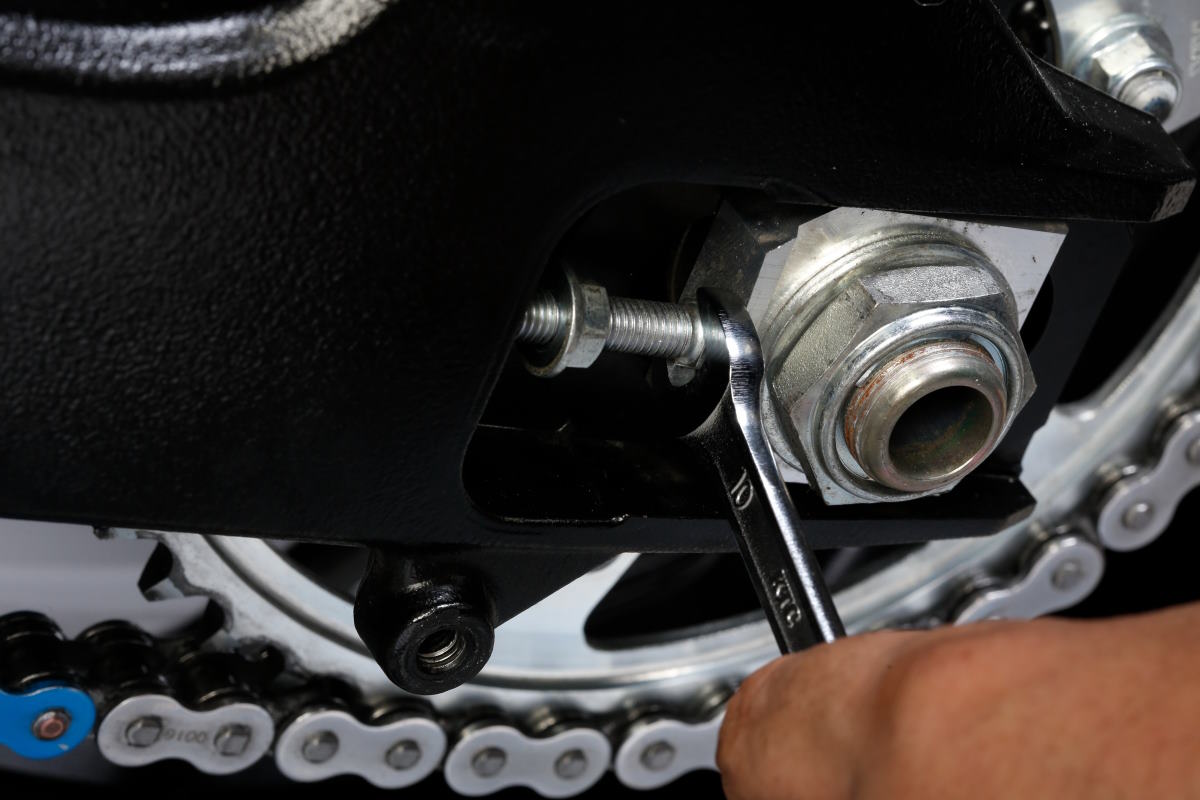
This type of adjuster is adjusted by pushing the adjuster with the head of a bolt screwed into the female thread on the swing arm. In this case, when the bolt is turned in the loosening direction, the bolt extends to push the adjuster, causing the rear axle shaft to move backward to reduce chain deflection. After adjustment, the lock nut is tightened on the swing arm to prevent it from turning.
When adjusting the amount of deflection of the drive chain, the axle shaft is pulled backward with the chain adjuster after the rear axle shaft is untightened, but the specific method of working differs slightly depending on the type of chain adjuster part. For models with a chain adjuster that fits inside the hollow swing arm, or models with a U-shaped adjuster at the rear end of the swing arm, the adjuster is pulled backward by turning the adjusting nut or bolt at the rear of the swing arm in the tightening direction, which reduces chain deflection. This will reduce chain deflection.
On the other hand, for models with the adjuster bolt on the front side of the axle shaft, turning the bolt in the loosening direction pushes the adjustment block through the axle shaft backward to reduce deflection. The direction of rotation of the bolt or nut and the increase or decrease in deflection can be understood more clearly by actually turning the bolt or nut than by thinking about it in your head. However, when the bike is on the side stand instead of the main stand or maintenance stand, the weight of the vehicle on the rear tire makes it difficult for the chain adjuster to reflect the adjustment amount. In such a case, the drive chain and sprocket should be adjusted accordingly. In this case, the adjuster play can be removed by placing a rag or screwdriver shaft between the drive chain and the sprocket and pushing the bike slightly to make it bite into the chain. This technique also works with the rear tire floating on the main stand or maintenance stand, but be careful not to rotate the rear tire too hard, as this can cause damage to the chain and sprockets.