When intake and exhaust conditions change due to exhaust system change or the installation of a power filter, the carb settings may not match and throttle response may not be as good as it could be. Here, it is easier to ride when the setting is crisp.
Here, it is a good idea to review the settings by focusing on the “function and area of the jet needle,” which becomes easier to ride when the settings are right.
- Be careful when removing and installing the 4-series carburetor.
- Cannot be removed without pulling out the throttle valve!?
- Needle inserted into throttle valve
- Straight diameter differences can be micrometrically measured.
- Thick wire or welding rod is best for static 4-strand tuning
- Do you have “shutter windows”??
Be careful when removing and installing the 4-series carburetor.
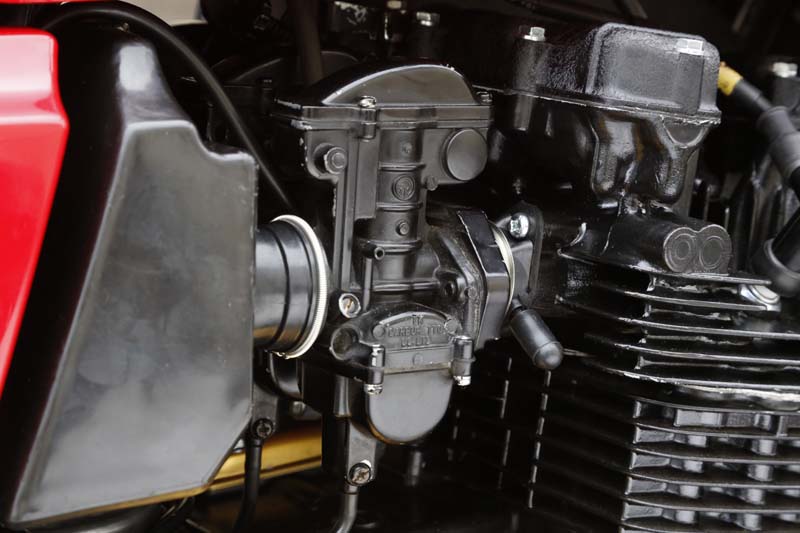
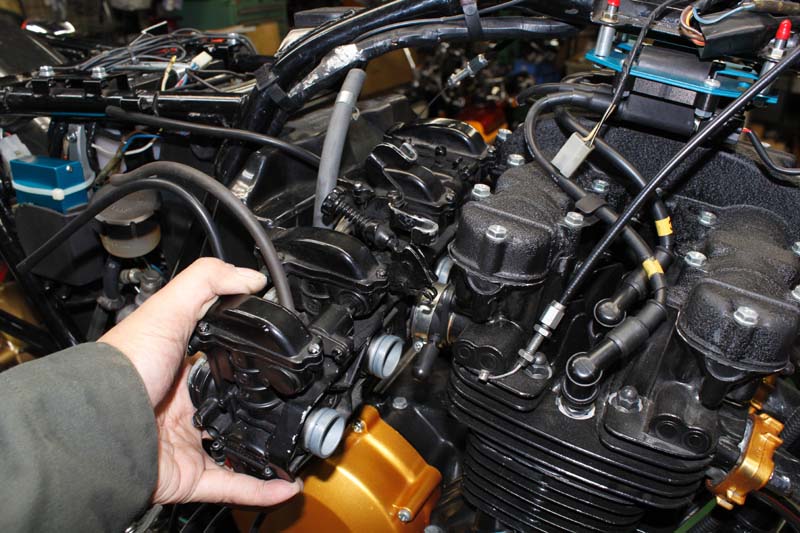
The 4-carburetor assembly could be removed more smoothly and quickly than expected because the rubber insulator and inlet pipe had been replaced with new parts during the overhaul of the upper engine waist. It will be easier to detach by warming it up gently with a heat gun. Use chemicals as well.
Cannot be removed without pulling out the throttle valve!?
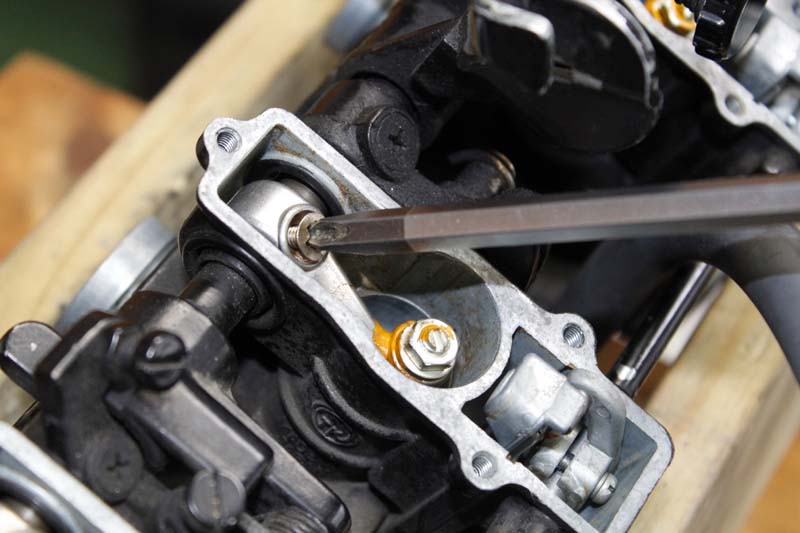
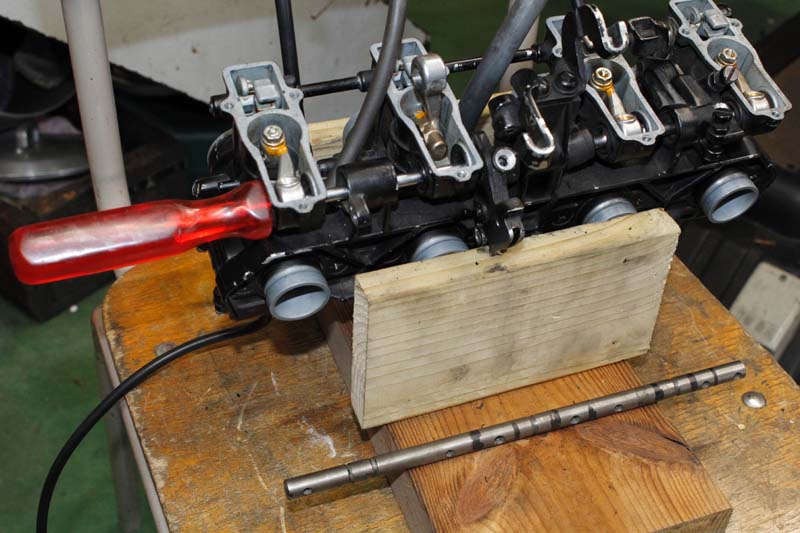
Unfortunately, in order to pull the jet needle out of the throttle valve, the throttle shaft must be completely pulled out. This is a troublesome carb design!! In fact, I knew this beforehand, which is why the jet needle replacement = fuel adjustment setting was postponed. If the screws are sticking, use a small shock driver to loosen them. After removing all the screws and bolts securing the throttle shaft, pull out the shaft. While pressing the flathead screwdriver against the flathead groove, the shaft was pushed out to the right side.
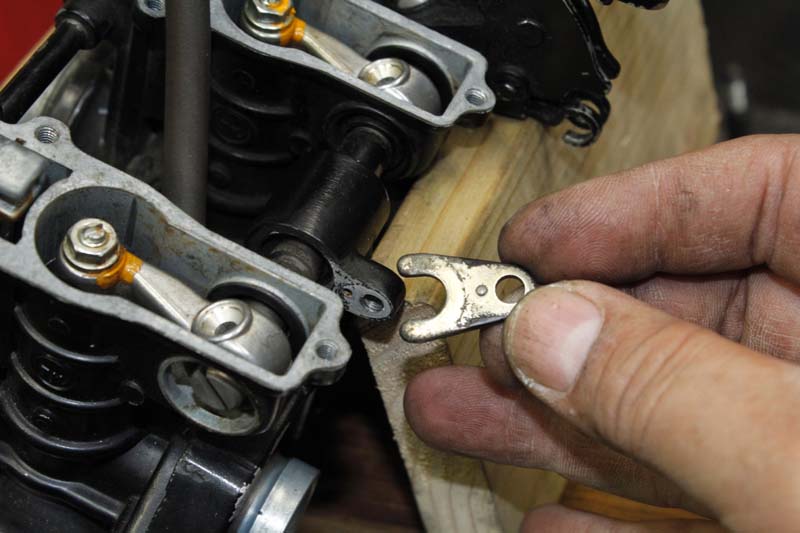
Needle inserted into throttle valve
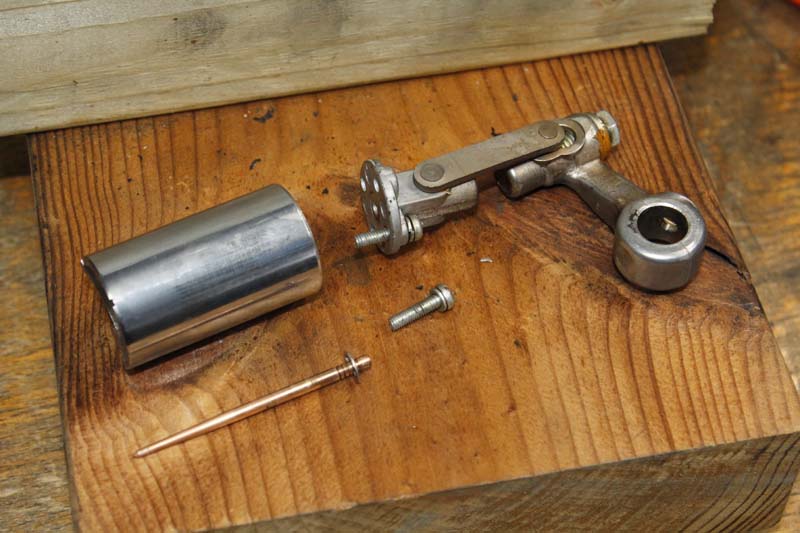
When removing and replacing the jet needles, proceed with each cylinder one at a time without fail. If you take them apart all at once, you will end up with a messy and troublesome situation, so proceed carefully. The jet needle, which is incorporated into the throttle valve, is fixed in place while being pressed against the block at the end of the linkage. Check the disassembled parts for wear and scratches.
Straight diameter differences can be micrometrically measured.

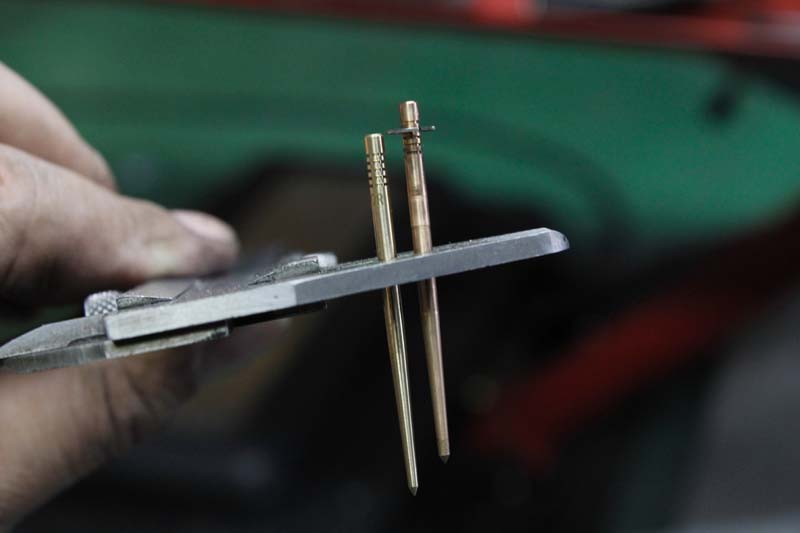
The instructions for the model-specific fuel kits clearly state the dimensional specifications of the jet needles, and there is an imprint to match, so check them carefully. If you have a micrometer handy, you can measure the differences. When you want to make an instantaneous comparison of straight diameters, instead of measuring with a micrometer, you can use calipers to pinch the same spot and determine that the one that falls out of alignment is thinner. The exact thickness should only be measured with a micrometer. 5/A difference of 1000mm can make a big difference in the setting. We chose a jet needle with one rank thinner straight diameter than the stock. The number of clip steps was kept the same.
Thick wire or welding rod is best for static 4-strand tuning

After replacing the jet needle and completing the assembly, repeat the throttle valve fully-closed & fully-opened operation, and after confirming the operability, check and adjust the opening amount of the 4 throttle valves using a slightly thicker wire (or welding rod, etc.). Adjust the valve opening amount evenly with a wire of the same thickness as the adjustment function inside the top cover.
Do you have “shutter windows”??
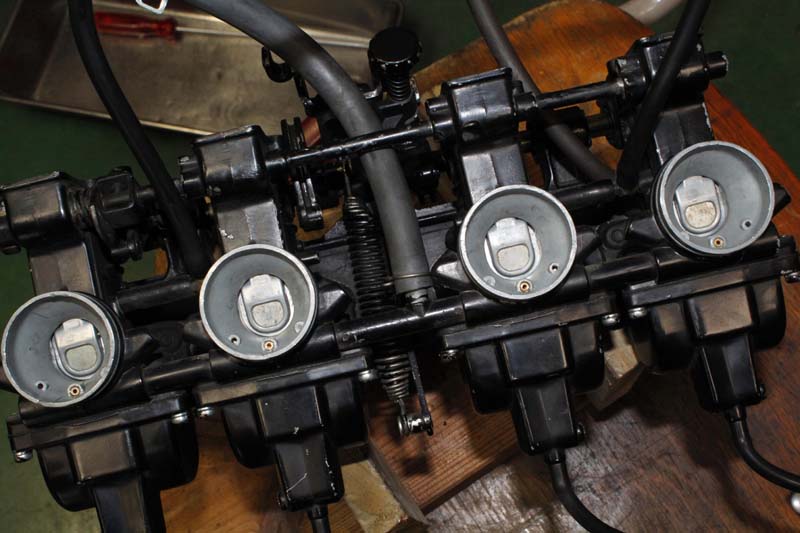
Once the synchronization has been confirmed, let’s retighten each part and check that the four throttles operate smoothly. Next, close the choke shutter and visually check that all four are working properly. In fact, many middle series Kawasaki carburetors are missing the “D-shaped window” on the shutter. When disassembling the carburetor, also check the choke area.
- Point 1: The important part of throttle control is the “start of opening” setting, not the idling range or the fully open range.
- Point 2 – Balance is also important for multi-carburetors.
- Point 3 – The “straight diameter” of the jet needle determines how easy or difficult it is to ride.
When the cold weather hits and the engine starts early in the morning, we sometimes hear stories of “trouble” with the engine not starting easily. One of the causes of poor starting is the carb setting. Even if the engine can be started, the engine does not warm up easily and idling is not stable, often (but not all) due to the carb setup. Usually, the starter choke is used to start the engine with the choke=shutter fully closed.
The general starting procedure is to pull the choke lever fully and then start the engine. Immediately after that, start warming up the engine by pulling the lever back just slightly and opening the throttle slightly to keep the engine running. After waiting a while and once a warm-up feeling is achieved, the choke lever is pulled back halfway and a few gentle air blows are given.
For 2-stroke engines, it is better to pull back the choke lever or starter lever as soon as possible, and to warm up the engine by operating the throttle. In the case of 2-stroke engines, it is better to pull back the choke lever or starter lever as soon as possible and proceed to warm up by throttle operation.
In fact, even before midwinter, the Kawasaki Z550GP was getting a “somewhat gas thin” feeling when starting the engine. In particular, when the engine was started in cold weather, the thin gas symptom became more pronounced in relation to the air density (air density is higher on cold days), and if the choke was pulled back halfway immediately after starting, the engine would stall immediately.
The warm-up operation could be continued by pulling the choke lever, but it would take too long. Incidentally, the choke function (shutter) and fast idle (gasoline supply function) of the standard TK carburetor are linked, and when the shutter is fully closed, the forced open/close throttle shaft is activated and the throttle opens a little = higher idling can be maintained. Even with such a function, the setting was difficult to control warming up.
Such troublesome symptoms can be solved by getting the carb settings right. If the straight diameter of the jet needle is made narrower than it is now, the throttle will be slightly thicker at the start of throttle opening, and the stall symptom will be reduced. Incidentally, if the straight diameter is reduced by one rank (1-2mm, depending on the model), the stall symptom will be reduced./(Symptoms can be improved by a difference of about 100mm), and you will definitely experience the effect.
This symptom tends to occur when a stock carb is replaced with a special carb (CR Special, FCR, etc.). We have had similar experiences several times in the past, so the cause this time “must” be there too!!?He thought, “It’s a good idea.
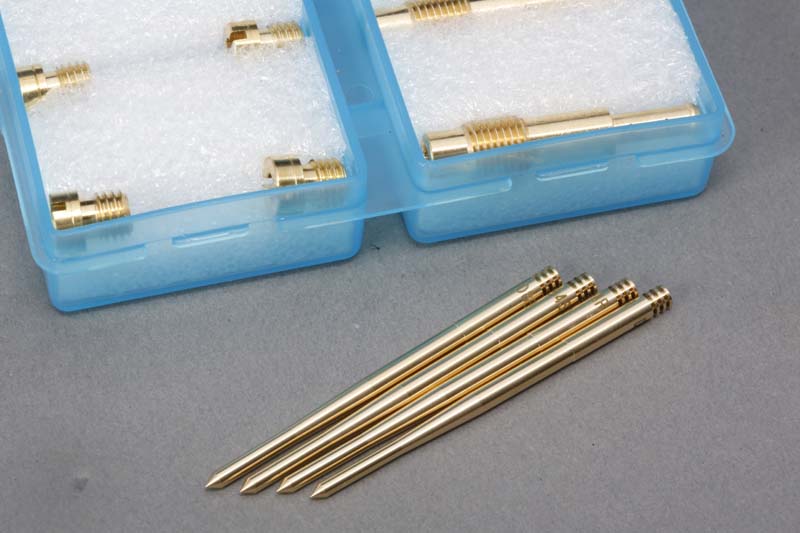
Remove the carb assembly and replace the jet needle. Replaced with “Key Star’s Fuel Conditioning Kit” to a specification with one rank thinner straight diameter, which changes the density of gas at the beginning of throttle opening. After the throttle valve was statically tuned and restored, the warm-up stability immediately after engine start-up was remarkably improved!!!
The engine no longer stalls even if the shutter choke is opened wide immediately after startup, and the engine warm-up rpm can be increased or decreased by adjusting the choke lever angle. In the summer, the gas may become thicker, and in such cases, the needle clip can be fine-tuned by adjusting the number of needle clip steps.
Incidentally, in the middle of summer when it was extremely hot, I had to deal with an unusual amount of overheating. It is good to know that thin carb settings can easily cause overheating. With the oil temperature gauge installed, it reached 120°C during normal running, so it was clearly overheating. So, we increased the main jet by 5 and the oil temperature display reached 105°C under the same driving conditions, even though there were no other changes. An average of 105°C in city driving in mid-summer is not bad at all.
Considering that the temperature was around 120°C even in traffic, the “fuel cooling effect” was significant, and even after the main jet was changed, the spark plugs did not get blackened. In other words, the original setting was gas thin. With the fuel adjustment kit and oil temperature gauge installed, the car is now more enjoyable to drive.